

Instagram is among the top most used apps nowadays. The app gained much more popularity since it’s Reels feature got introduced. Instagram’s in-built Reels feature allows you to make short videos on any sound of your choice, you can also use filters, captions, stickers etc. to make your videos look unique and attractive. Apart from this, you can now go live on Instagram and interact with your followers.
However, there are times when some of you do not wish to share your Reels videos right away after shooting and may want to schedule it. Similarly, some of you might want to schedule your live video also. For such situations, Instagram has an in-built feature through which you can schedule your live stream but to schedule a Reel video, you will have to download a third party app first. In this guide, we will explain step-by-step how you can schedule your Instagram live video and Reels videos.
How To Schedule Your Instagram Live Stream
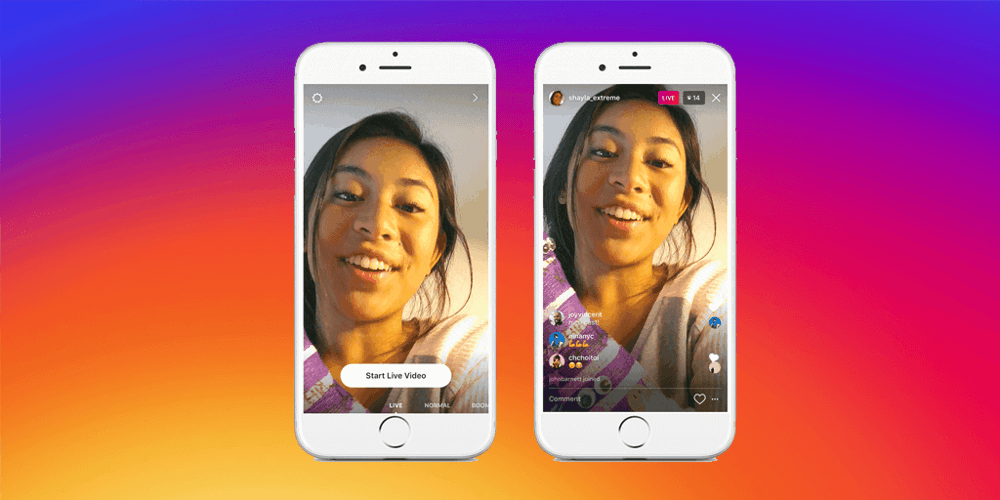
You can schedule your Instagram live video within the app itself and won’t have to download any third-party apps. When you will schedule your live, the app will remind you before your live stream. Follow the steps below to know how to schedule your Instagram live video.
- Go to Instagram and tap on the ‘+’ icon you can see at the top right corner.
- Click on ‘Live’ option and some options will appear on the left side of your screen.
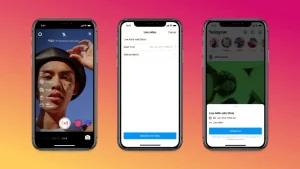
- Tap on ‘Schedule’ option and then, enter the details, the video title of your live and the time you wish to schedule according to you.
- You can schedule your Instagram live video up to 90 days in advance.
- At last, tap on ‘Schedule live video’ button once you are done with filling the details.
How To Schedule Your Instagram Reels Videos
Before proceeding to the steps, you need to download a third party app called ‘Preview: Planner for Instagram’ which will help you in scheduling your Instagram Reel video. You can download the app on both Android and iOS from Play Store or App Store of your smartphone. Here’s the following steps:
- Download the ‘Preview: Planner for Instagram’ app and open it.
- Then, enter your Instagram email, password and log in to the app.
- After that, go to Reels section and click on ‘+’ icon you can see at the top right corner.
- Now, you can choose to shoot, select from the gallery or repost any other Reel also.
- After selecting your video, it will get displayed on the screen.
- Then, tap on the video and click on the ‘edit’ icon placed at the bottom.
- Click ‘Schedule post’ option and set the time according to you.
- Lastly, click on ‘Confirm’ button to schedule your Instagram Reel video.